|
Products
Database Search Solution (New Version) Search Control SEO Pager Highlighter Shortcut Controls Crypt Package Free ASP.NET Controls
Geotargeting Component ASP.NET Media Player Control Flash Video Player Control Services
ASP.NET Telecommute Jobs Free IP Location Lookup Test .Net Regular Expressions CSS/Table/DIV Page Layouts Custom Programming Article Sites Master List |
Converting Color Photo To Black & White PhotoThis tutorial will cover one of the most frequent techniques of converting a color photo into black and white using Adobe Photoshop. We are going to use the method which uses the Lab Color Mode to achieve the effect that we want. So, open your image and let's get to it. 1. Go to Image >> Mode and select Lab Color. 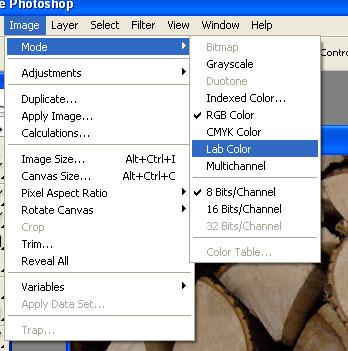 This will convert our photo from RGB to Lab Color. As opposed to popular belief... Lab does not stand for laboratory. It is an abbreviation for the main channels that it uses: L - lightness, a, b color channels. 2. Now we need to go to the channels palette (behind layers) and click on the Lightness channel. 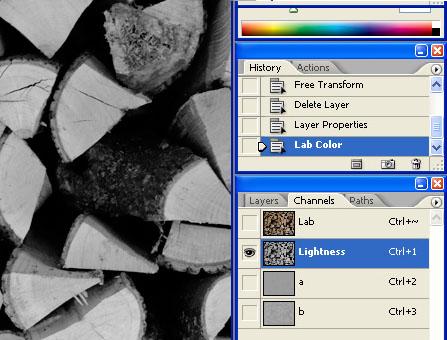 You will see that your image suddenly becomes black and white. Quite a big leap. But we're not done yet. We need to refine this result. Again, go to Image>>Mode and this time choose grayscale. When prompted, say yes to the flattening of the layers and the discarding of the color information. By this time you should only have one channel - the one labeled "Gray". 3. Control + Click on the thumbnail next to the channel name to load a selection of the light areas in the picture. 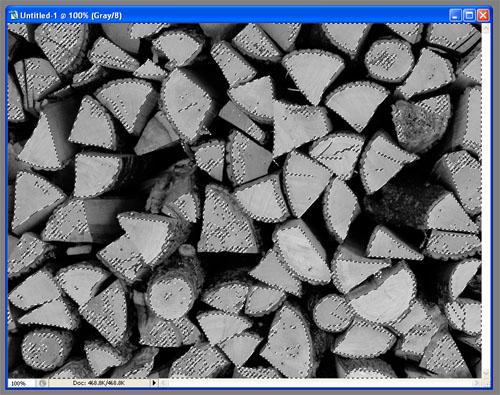 Now inverse it (Select>>Inverse or press Ctrl+Shift+I). 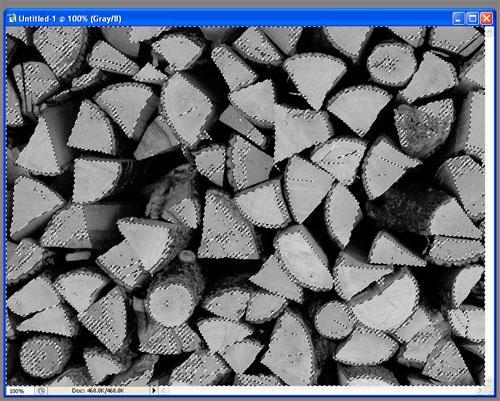 4. Flip back to the layers palette, and with the selection still loaded go, on last time, to Image>>Mode and select RGB Color. 5. Let's add a bit more color. Go to the "New Adjustment Layer" next to the "Create new layer" icon and select "Solid Color". From the menu that appears, select a very dark, preferably black, color and click OK. 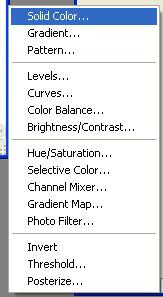 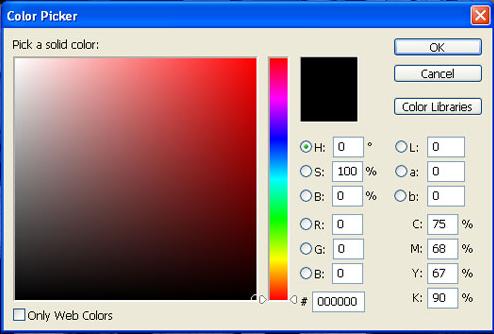 6. Adjust the opacity of this new layer to about 70% or what you think suits the picture. 7. Let's add a little more contrast to the composition. 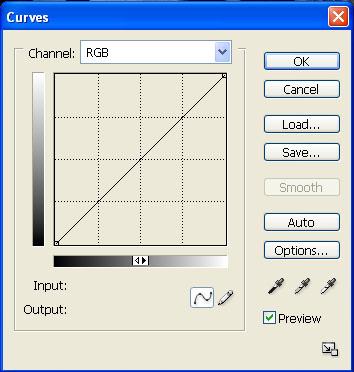 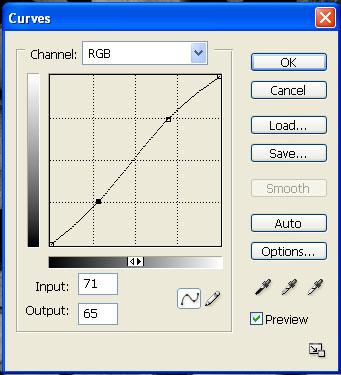 Voila, there is your black and white photo. Take a look at how mine turned out. 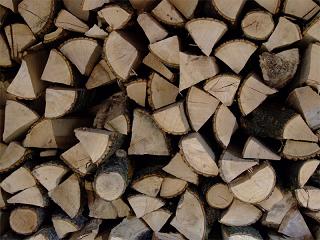 Before 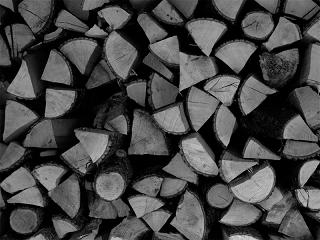 After This tutorial is written by Dr00pY. Tutorial toolbar: Tell A Friend | Add to favorites | Feedback |

