Products
Database Search Solution (New Version) Search Control SEO Pager Highlighter Shortcut Controls Crypt Package Free ASP.NET Controls
Geotargeting Component ASP.NET Media Player Control Flash Video Player Control Services
ASP.NET Telecommute Jobs Free IP Location Lookup Test .Net Regular Expressions CSS/Table/DIV Page Layouts Custom Programming Article Sites Master List |
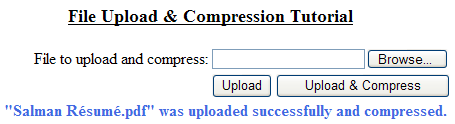
File Upload & Compression in ASP.NetIntroductionIn this article I am going to look at how to upload a file to the web server and compress it using the compression methods provided in .Net. I will use the open source compression method to compress to a .gz file. The method is available in System.IO.Compression. Working the Code: Upload & Compression exampleLet us start off by quickly putting together a simple interface for our web-page. The screen shot below shows the screen that I ended up with:
Some points to note. The Text-Box followed by the Browse button is the HTML File Upload Control. When you add that to your web page remember to add the RunAt tag in HTML View: <input id="fileUpload" type="file" runat="server" /> This will allow us to work with the control from the server. Let us get to the code side. Double-click on the Upload Button to create an event-handler. For this button, we want to simply upload the file, without compressing it. Make sure to import System.IO and System.IO.Compression at the top for we'll be using both in the code, and its better not to type System.IO every time one needs to call it. Here is the piece of code that you'd want to include behind this button:
If
fileUpload.PostedFile Is
Nothing Then What we are doing here is that we read the PostedFile from the HTML control, and save it to our server using Server.MapPath to get our desired destination. That being a simple method let us now look into compression. In the second button's event handler, start off the same way as we did in the first, by checking if the user posted a file or not. Then proceed to the following:
'A String object reads the file name (locally) What we do here is read the file into a stream, change its extension to the appropriate GZ ext, and compress using the GZipStream compression method. The same method, GZipStream, can be used for UnCompressing files, by using CompressionMode.UnCompress. Don't forget to download Sample Visual Studio .NET 2005 project for this tutorial here . Tutorial toolbar: Tell A Friend | Add to favorites | Feedback | Google |