How to easily benefit from Microsoft HTML Help Workshop
What is Microsoft HTML Help Workshop?
Ever wondered how Microsoft have implemented Windows XP help? (See figure 1)
Ever wondered how how MSDN authors develop their articles? (See figure 2)
Ever wondered how come when you press F1 in most application you are presented with something describing that part of the application?
You will be amazed if we told you that all of the above cases are developed using the same tool: Microsoft Windows HTML Help Workshop. We believe now you need not us to explain more why Microsoft Windows HTML Help Workshop is an important and vital tool for most software developers and content writers / distributors.
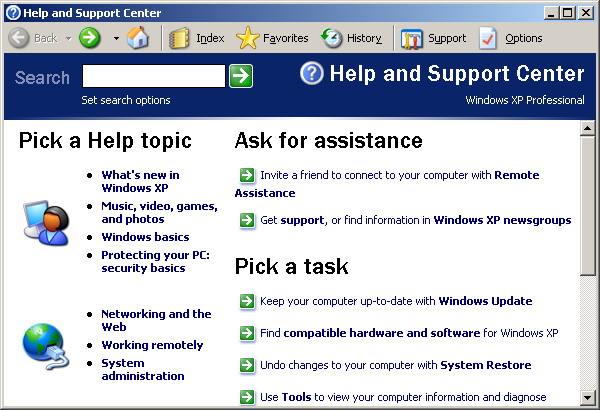
Figure 1: Windows XP Help

Figure 2: MSDN Library
The big picture
The use of Microsoft HTML Help Workshop typically involves two successive phases. The first phase is the authoring phase in which the content to be provided as help is converted into a special file format (typically a '.CHM' file). Now it comes the next (second) phase in which this CHM file is actually displayed to the user. Displaying help to the user can be achieved via several scenarios. The user can, for example, press F1 while accessing a part of an application. The help corresponding to this part of the application is retrieved from the CHM file and then is displayed to the user. Another scenario is when the user is browsing the entire content tree of the CHM file and locates a desired subject and then clicks it. Several other scenarios do exist as well, like searching for a given topic using any word mentioned inside that topic or using the index of the CHM file to locate the topic related to a given term.
The obscured phase!
The most typically obscured part of the process is the first phase. As we mentioned above, in this phase the help content is converted into a CHM file that is suitable for viewing later in phase 2. Phase 1 is simply why Microsoft HTML Help Workshop exists. In the following procedure we introduce you to how to perform phase 1 in it's typical case:
Example 1: Basic HTML Help Workshop Sample (Download)
In this example, we assume that we need to convert the help in the HTML file (InputFile.htm) shown in figure 3 into a CHM file. Here's the steps you need to perform to achieve this target:
- Open Microsoft HTML Help Workshop:
- Windows Start menu
- HTML Help Workshop
- HTML Help Workshop
- From the 'File' menu of Microsoft HTML Help Workshop select 'New', then select 'Project'
- Click 'Next' (See figure 4)
- Specify the name and location of the new help project you need to create then click 'Next' (See figure 5)
- Check the 'HTML files ...' check box in figure 6 to indicate that you are going to convert an existing HTML file (InputFile.htm) into a CHM file. Click 'Next'.
- In figure 7, we will click the 'Add' button and specify the name and location of our input HTML file (InputFile.htm). This is the input file to be converted. In the general case, you can add more than one HTML file and later you can instruct your application to display a specific topic as we will see in the next example.
-
Finally, click 'Finish'.
-
Microsoft HTML Help Workshop will then display your project settings (See figure 8)
-
From the 'File' menu, select 'Compile' and then click the 'Compile' button.
-
Congratulations! You have created your first CHM file. Browse to the same folder inside which your help project exists (specified in figure 5) and you will find a file named 'Example1.CMH' there. Open it (just double click it!) and you will see your first HTML help file (See figure 9)
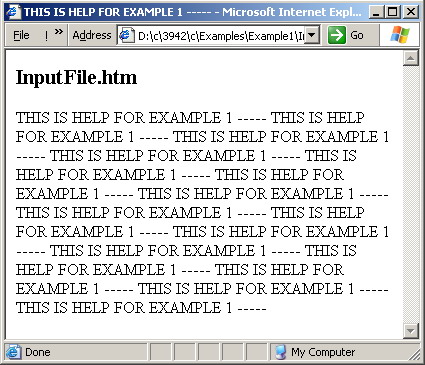
Figure 3: InputFile.htm
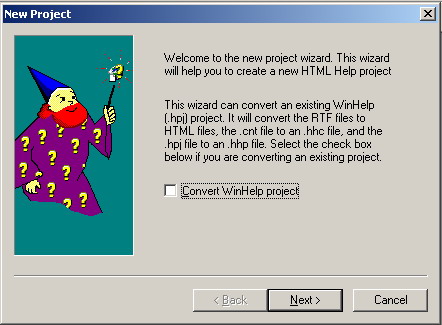
Figure 4: Microsoft HTML Help Workshop New Project Window
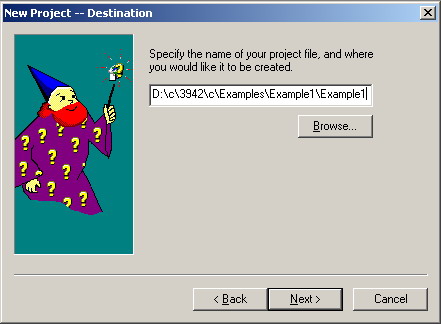 Figure 5: Specify name and location of new project 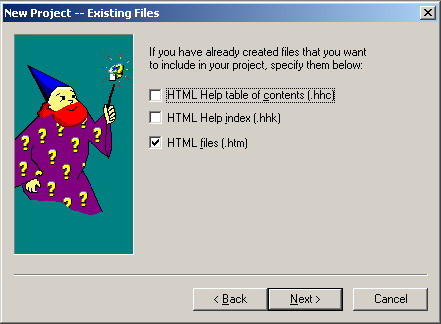
Figure 6: Specify existing files that we need to include in project 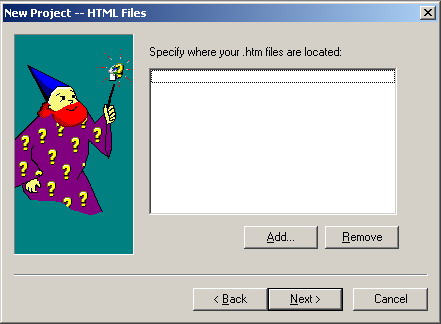 Figure 7: Add HTML files
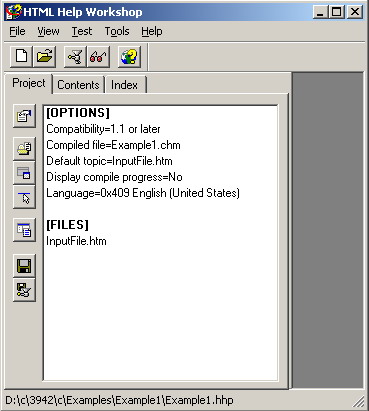 Figure 8: Project settings 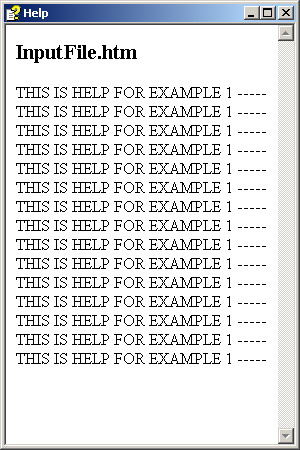 Figure 9: Your first HTML help file Seems not that useful!!!
One may ask, so what? All what we have done is to convert a single HTML file into a CHM file! What benefits we got? All what we can see when viewing the newly created CHM file is essentially the same as what we can see when viewing the original HTML file!
To answer this question, we will list only two benefits that we got, but bear in mind that the benefits are much more than that:
-
If we are to add more than one HTML file to our help project we will get a single CHM file. Thinking like that, you can have a set of, say 1000, HTML file and you can add them all to your help project. You will get a single CHM file containing all of these HTML files along with any images referenced inside these files. Of course the management and delivery of a single file is much more convent than 1000 file. Having all of these HTML files stored inside a single CHM file does not break the links between them at all. The user can still navigate from file to file as he can do typical with HTML files in a standard web browser.
-
The above benefit is nothing if compared to the seconds one. Ever wondered how come when you press F1 while displaying a dialog box, for example, the help associated with this specific dialog box is retrieved? This is simply because even if the CHM file can contain thousands of linked HTML files, you can still point to a particular topic inside it and display it specifically. Let's illustrate this by an example.
Example 2 - Context Sensitive Help (Download)
In the following example we will demonstrate how to build an application with a form having two buttons. Specifically we need a certain help page to be displayed when F1 is pressed with the first button selected and we need a different associated page to be displayed when the other button is selected.
Because 1 picture is worth 100 words, so let's illustrate what we are going to do by the aid of pictures. In figure 10, we can see a form with two buttons. Let's assume we need a help page associated with foxes is to be displayed when F1 is pressed while the fox button is having the focus. When the cat button is having the focus and F1 is pressed, a different help page that is associated with cats will be displayed.
To achieve this behavior let's first give careful attention to how our CHM file will be built:
-
First of all, you may suspect that our CHM file in this case will contain two HTML files instead of the one file case of Example 1.
-
Let's assume that these two files are 'cat.htm' and 'fox.htm' --- They are included with the downloadable example for your convenience.
-
Simply follow the same steps we performed in Example 1 but just add two files instead of one file (File are added in Figure 7).
-
Now give great attention to the following fact as it's well known as a trap that can cause things to not to work as all with CHM files: The folders inside which your HTML files do exist ('cat.htm' and 'fox.htm' in this example) and the folder inside which your help project do exist (Figure 5 above) are highly related. If your help project is to exist in a different folder than your HTML files, then be careful that you have to reflect this fact while setting your HelpKeyword property (more about this property later). In this specific example our help project is inside this folder: '.....\Example2' and our HTML files are inside this folder: '.....\Example2\Help'. This is the case, when we are to reference any of our HTML files in our application we reference them not only using their names, but also using the path (the folder names) starting from our help project folder. So, in our particular case our HTML files are to referenced as 'Help\cat.htm' and 'Help\fox.htm'. It's important to mention as well that this fact has nothing to do at all with the steps of the construction of the CHM file itself, but instead it will prove useful while we are implementing our form / buttons.
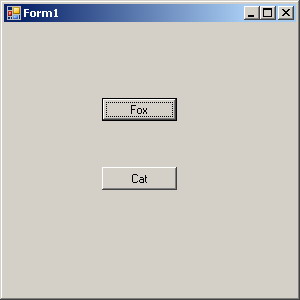 Figure 10: Sample form Now we have our CHM file ready, we can proceed to how the form / the buttons themselves will be implemented.
-
From your toolbox, get a HelpProvider component and place it on our form.
-
Set the 'HelpNameSpace' of this HelpProvider component to the name and location of the CHM file from which our help will be obtained. For example, set it to 'C:\WRK\Examples\Example2\Example2.chm'
-
After adding the HelpProvider component, you will notice that the two buttons have two extra properties: 'HelpKeyword on HelpProvider1' and 'HelpNavigator on HelpProvider1'
-
The 'HelpNavigator on HelpProvider1' property is to be set (for the two buttons) to the value 'Topic' to indicate that a specific topic will be displayed when F1 is pressed.
-
The 'HelpKeyword on HelpProvider1' is to be set to the name of the HTML file containing the associated topic to be displaye3d (along with the proper path name as we described above). So, set this property to 'Help/fox.htm' for the fox button, and set it to 'Help/cat.htm' for the cat button. Note the use of the '/' instead of the famous '\'.
-
This way, when the user presses F1 while the the fox button is having the focus he will see the help in figure 11. And for the cat button he will see figure 12.
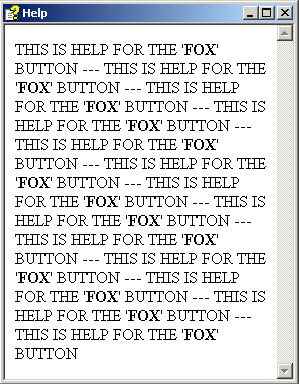 Figure 11: "Fox" button context help 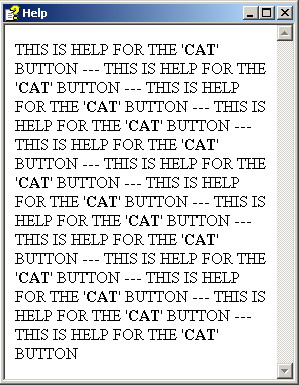 Figure 12: "Cat" button context help It's important to note that although we are setting the 'HelpKeyword on HelpProvider1' property to the names of HTML files, these HTML files need not to be exist as they are already merged into our CHM file. The CHM file is the file that has to be distributed with your application not the HTML files.
How to obtain Microsoft Windows HTML Help Workshop?
Microsoft distributes Microsoft Windows HTML Help Workshop with many of it's development tools distributions. If you do not already having one of these distributions and want to directly obtain Microsoft Windows HTML Help Workshop, you can download it from the following URL: http://go.microsoft.com/fwlink/?LinkId=14188
How to speed up creating of documentation?
As you know, the whole process of creating a documentation takes a lot of time. It is better to use that time in developing new features of your products, but you simply can't sell applications without help files. To better use your time check
Help Generator, which will automatically do a lot of long (and for developers usually boring) work. After Help Generator automatically makes the main Help framework, you can use its editor to edit the files if needed and finish the work. Then you can publish your help as CHM, web based help, Word or PDF.
For further information
- Microsoft Help Technologies Start Page:
- Refer to the online copy of Microsoft Developers Network at http://msdn.microsoft.com or use you own local copy of MSDN.
Tutorial toolbar: Tell A Friend | Add to favorites | Feedback |
|

