

Products
Database Search Solution (New Version) Search Control SEO Pager Highlighter Shortcut Controls Crypt Package Free ASP.NET Controls
Geotargeting Component ASP.NET Media Player Control Flash Video Player Control Services
ASP.NET Telecommute Jobs Free IP Location Lookup Test .Net Regular Expressions CSS/Table/DIV Page Layouts Custom Programming Article Sites Master List |
Building a Shopping ListIntroductionI am sure that most of us before going for shopping on a certain occasion, we have to dig up our mind to draft a shopping list. However, after shopping, we unfortunately would say: "Oh, I forgot to buy this and that!". This tutorial will explain how to build a shopping list using ASP.NET 2.0 with MS SQL database.
Based on this article, some cool technical stuff in Visual Web Developer will be used to facilitate our work. FunctionalitiesThe functionalities that will de developed are:
Database DesignThere will be 2 tables for holding information of the shopping list and the items pertaining to a specific shopping list. 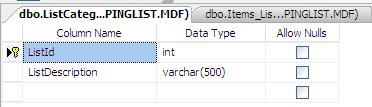 Figure 1. ListCategory table for holding shopping list title 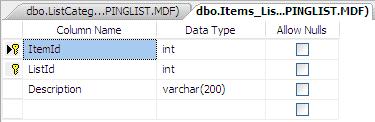 Figure 2. Items_List_rel table for holding the items of the shopping list Screen Design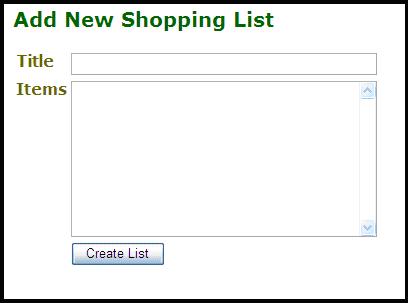 Figure 3. Screen design for creating a new shopping list 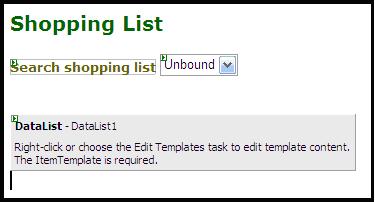 Figure 4. Using a dropdown list for populating available shopping lists, and datalist for populating the list of items. The items will be in a tabular format. 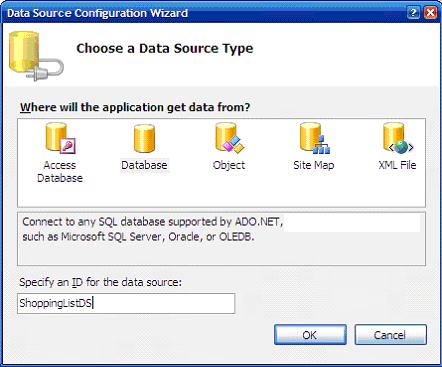 Figure 5. Choosing a data source for listing the shopping list items 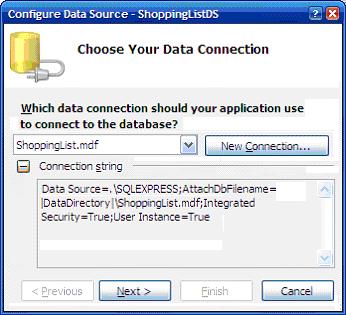 Figure 6. Set the data source to the new database created and save the connection string to the web.config file when asked to. Creating a new shopping listTo create a new shopping list, the title of the shopping list, a title and the list of items should be supplied. We will assume that the items will be separated by linefeeds. So, each item in the list will be found on a separate line. The next step is to insert the information in the tables; and 2 stored procedures will be used for that. They are simple stored procedures as illustrated below.
From the code above, the title associated with the shopping list is inserted in the database. An ID is associated with the description of the shopping list. The ID will be useful to group together the items belonging to a specific list.
Having the stored procedures at hand, they have to be called from the ASPX pages to complete the "Create a new shopping list" functionality.
Private
Sub addShoppingListTitle()
The above code snippet calls the stored procedure for inserting a new shopping list title.
' Add shopping list items
To get the list of items, separated by linefeeds, the above code snippet uses the very handy split (vblf) which returns an array of string with each element as the item. Then, each item in the array is inserted in the database to build the shopping list as illustrated below.
Private
Sub addItem(ByVal
strItem As String)
Retrieving the shopping listTo retrieve the shopping, list, we will make use of the powerful DataList control gifted to us. It will be binded with the combolist for retrieving a specific shopping list. First, we need to populate the ComboList with the available shopping list titles. Do not forget to set the AutoPostBack of the combolist to True. We first create a new data source from the wizard. 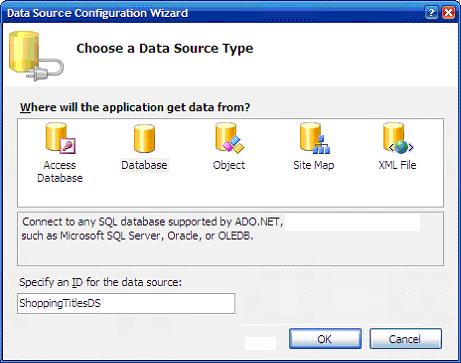 Figure 7. Choosing a data source for populating combo with shopping titles 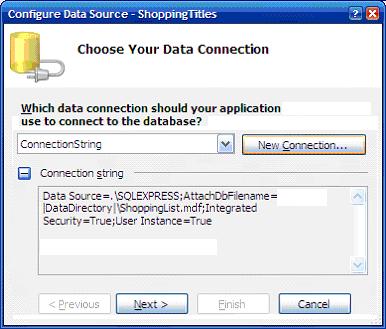 Figure 8. Choosing the connection of the datasource. 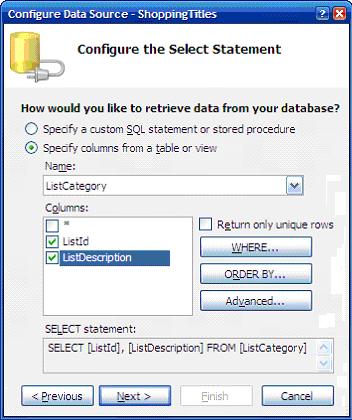 Figure 9. Chose the table named "List Description" select both columns and then click on Next. You can test the query in the next step to make sure everything is working perfectly. 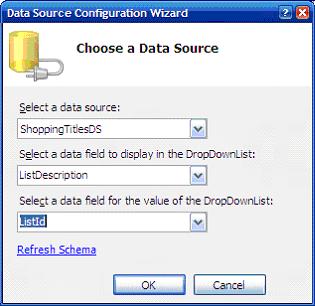 Figure 10. Then, select the datasource to be assigned to the datalist and select the fields as specified in the figure 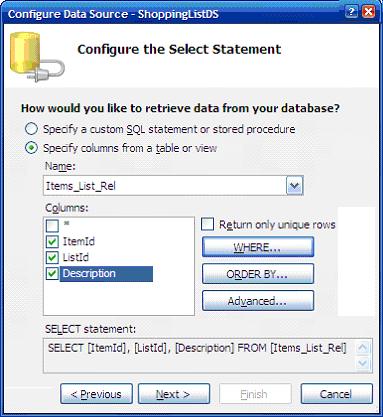 Figure 11. Selecting all the fields from the "Items_List_Rel" tables and click on the "WHERE" button. 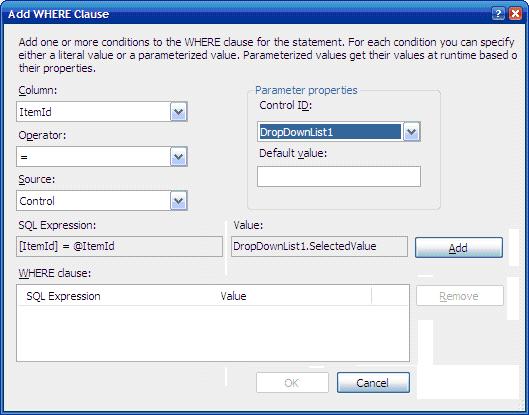 Figure 12. The condition should be configured as in the picture above. Note how the value is obtained from the DropDownList and binded to the dataset returned. Then, click on the "Add" button. You can test the query to make sure everything is working properly after the above step. We will customize the template and make the information appear in tabular format. 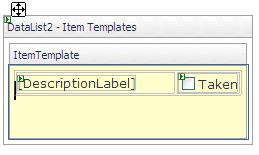 Figure 13. Item template is formatted as above. The AlternatingItem Template is just a Copy Paste of the Item Template. PrintingPrinting the list is simple. We will make use of a simple Javascript code to get a printout. A hyperlink is placed on the page and the following associated with it. <a href="javascript:window.print();">Print List</a> The important part is the "javascript:window.print()". Et voila, we are done with the application! Some screen shots of shopping list web application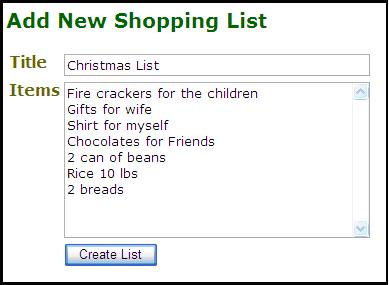 Figure 14. Building the shopping list 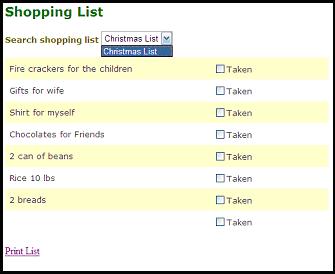 Figure 15. List selected and list of items populated 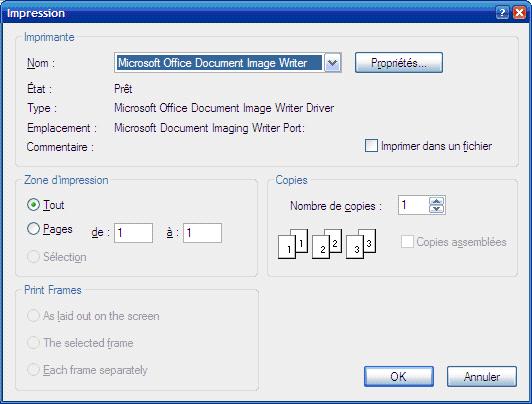 Figure 16. After clicking on the "Print" link, the above dialog is shown 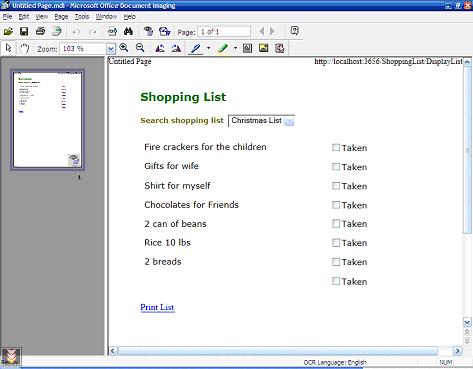 Figure 17. Print preview of the shopping list SummaryIn this tutorial, some concepts to interact with stored procedures, javascript and the ASP.NET gifted wizard were illustrated. Of course, this application can be more robust. For instance, you use required field validators for validating entries or ignoring blank lines etc... Well, it is left to you to make the application better. Now, you are sure you have the shopping list stored and easily retrieved for future use, Happy coding! Tutorial toolbar: Tell A Friend | Add to favorites | Feedback | |