Products
Database Search Solution (New Version) Search Control SEO Pager Highlighter Shortcut Controls Crypt Package Free ASP.NET Controls
Geotargeting Component ASP.NET Media Player Control Flash Video Player Control Services
ASP.NET Telecommute Jobs Free IP Location Lookup Test .Net Regular Expressions CSS/Table/DIV Page Layouts Custom Programming Article Sites Master List |
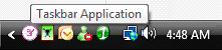
Taskbar Notification with Fade In & Fade Out EffectThis article is a follow up to the Taskbar Application and Notifying Users in Taskbar Application articles. The first article in the series discussed removing Main Window Dependency from the Application and loading our application into the Taskbar. The second one discussed creation of a notification window and showing it above the Notification Icons in the taskbar.
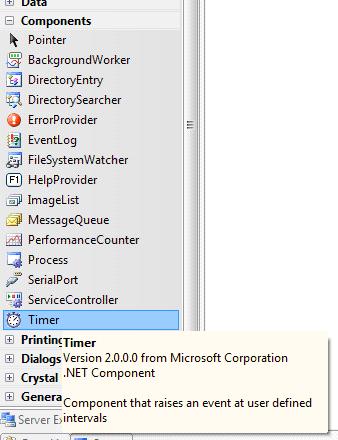
In this article I will take our notification window to the next level. If you've used MSN Messenger, Outlook, Google Talk, or any other software that uses notification windows then you would be aware of the fade-in and fade-out effect of the windows. That is exactly what we are going to accomplish with this article. You can download a sample Taskbar Fade In - Fade Out Visual Studio .NET project, used in this tutorial. We will start with adding a Timer control to our Notification Window.
Add three flags to our form;
Private
IsLoading As Boolean
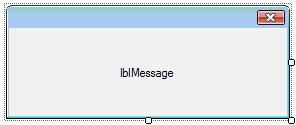
= True Displaying the Notification Window will now be a three part process. The first task will to fade-in the notification message. The next will be to display it for a few seconds. And the final task would be to fade-out and close the form.
Private
Sub myTimer_Tick(ByVal
sender As System.Object,
ByVal e As
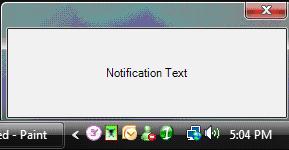
System.EventArgs) Handles myTimer.Tick In our Form's Load Event Handler we enable our Timer, setting it to execute at a 10th of a second. On Timer Tick we check our flags. If the flag IsLoading is set that means we are loading the form, and thus we call our FadeIn method. If IsVisible is set, we set the app to start closing. And if IsClosing is set, we call FadeDown which closes the form after fading it out. The code is pretty simple and easy to understand. In FadeIn, we see if Opacity is over 99%; i.e. if the form is visible or not. If it is less than 99%, we increase opacity by a specific no. otherwise we set IsVisible and change the Timer Interval. In this case we are setting the interval to 3 seconds. This means that the next TimerTick will be after 3 seconds. If we do not do this, the next tick will occur after the same interval as before, i.e. 10th of a second, and our notification message fades out the instant it fades in completely. The important thing to remember is to set the Timer Interval back to the 10th of a second upon TimerTick after the form is visible, so that fade-out occurs correctly. Run the code, and open the notification window. It will fade in over the notification icons in the taskbar, stay visible for 3 seconds and then fade out and close. If you've used applications that use Notification Windows, then you'll know that the notification message remains visible as long as the user keeps it focused - i.e. keeps the mouse hovering over it. We can do the same here.
Private
Sub NotificationMouseEnter(ByVal
sender As Object,
_ The first question that might come to your mind would be why are we using lblMessage.MouseEnter and lblMessage.MouseLeave events? Why not use the MouseEnter and MouseLeave events of the form? It's simple; because using the form's events won't work for us. Not in this scenario. The reason being that the Label is docked completely on the form and thus the form does not throw those events at all. Try replacing lblMessage.MouseEnter and lblMessage.MouseLeave with Me.MouseEnter and Me.MouseLeave respectively and you'll notice that the functionality does not work. What we are doing in the Event Handlers is quite simple. When the mouse enters the notification window, I set it's opacity to 100%, set IsVisible to true, and set the timer interval to 3 seconds. I also disable the Timer. And when the mouse leaves the notification window, I am enabling the timer again. The end result would be that when the user drags the mouse onto the notification window it will come up 100% visible and remain that way. When the user removes the mouse from over the window, it will wait three seconds and then will start closing the notification window. That's all. I hope you enjoyed this article as much as I did writing it. If you have questions or any feedback, then feel free to contact me at msalmank@gmail.com. Tutorial toolbar: Tell A Friend | Add to favorites | Feedback | comments powered by Disqus |