Products
Database Search Solution (New Version) Search Control SEO Pager Highlighter Shortcut Controls Crypt Package Free ASP.NET Controls
Geotargeting Component ASP.NET Media Player Control Flash Video Player Control Services
ASP.NET Telecommute Jobs Free IP Location Lookup Test .Net Regular Expressions CSS/Table/DIV Page Layouts Custom Programming Article Sites Master List |
Taskbar Notification with Irregular Shaped FormsThis article is a follow up to the Taskbar Application articles.
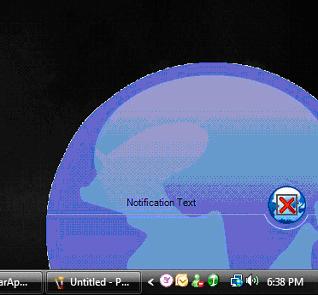
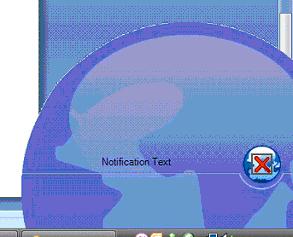
In this article I will talk about creating Irregular shaped forms, and creating an exquisite notification window than the previous one. 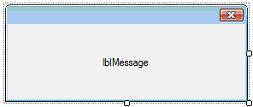 The figure above shows our Notification Window that we have created so far. It is a simple windows form; plain looking and simple. The notification windows used by MSN Messenger or Outlook, etc. are a bit more exquisite and appealing. So, let's talk about creating something entirely different for our application. You can download sample Visual Studio .NET project, used in this tutorial. Creating an irregularly shaped form under a non-.Net environment is difficult. Fortunately for us, .Net Framework provides simple properties that can be used to improve the functionality of the form and to create an exquisite look. When using irregularly shaped forms, we have to be careful in order to maintain the professionalism of the application. In other words, misusing irregularly shaped forms can give a non-professional look to the application. Irregular shaped forms can be used for various reasons. For instance, they can be used to improve end user's experience, achieve greater functionality and highlight key controls. And example can be Windows Media Player. Another reason that comes to mind could be to do with presentation. For example take MSN Messenger that presents rounded corners to a Windows Form and a themed layout. Similarly, splash screens can be designed to demonstrate a company's technological skills. To start off, we will first choose a background image for our form. This image is the shape our form will take. Using a high-quality image is recommended otherwise the shape when being painted may deter. I have the following image ready to be used as my form back-ground... in other words, this will be our form; 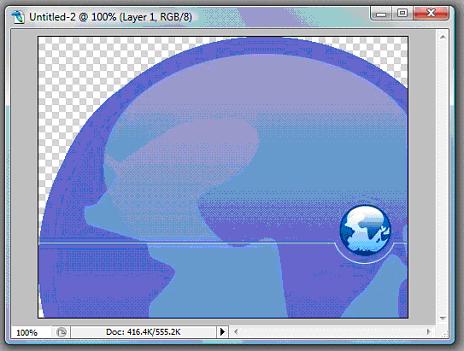 After choosing our image, the first thing we need to choose is a background color. This color will fill the transparent area of the image (in the above figure, the area outside the globe). We will set this color equal to the TransparencyKey property of the form. This means that this area will be drawn transparent - the form will not exist in that area. Choose this color wisely for we don't want to use a color that might come somewhere on the form which we don't want to set transparent. For instance; setting Black will create the area where Text is written in Black as transparent! Similarly, choosing one of the colors from the globe above will set that area as transparent. So for instance, the color of the Sea in the small globe, if set as the TransparencyKey, will result in that sea being transparent - we'll be able to see and click our desktop or whatever window comes behind the form within that globe. So, it is better to choose an odd color such as lime, magenta, or hot pink. In the image that I've chosen, I've filled the empty area around the globe using "Moccasin" color. Now... let us modify our frmNotification.vb that we created in the previous tutorials. Open frmNotification.vb. Select lblMessage and set Dock = None. Select the Form, set it's FormBorderStyle to None - removing the form borders - and set it's background image to the image that we created.  The Image above shows the new form. I moved lblMessage over the line, setting its background color to Transparent. I also added a new button to the form with a cross over it, allowing the user to close the notification window. The next step is to set the TransparencyKey of the form. If you remember, I used Moccasin to fill the empty space in the image. I will set the TransparencyKey to that same color. What this does is that when the form is created, it looks for Moccasin and sets that area as transparent. The important thing is that it just doesn't set that form area see-through, but removes the form from that area. In other words, if you click just outside the globe, when the form is run, it will click on the desktop or whatever form is behind this form instead of clicking on a transparent form. Let us now test our application.
That's all. This opens various possibilities like creating custom forms with more professional looks. Moving and even resizing the custom shaped forms is a challenge that I might cover in another article some day. Send me your questions or feedback at msalmank@gmail.com. Tutorial toolbar: Tell A Friend | Add to favorites | Feedback | comments powered by Disqus |