Products
Database Search Solution (New Version) Search Control SEO Pager Highlighter Shortcut Controls Crypt Package Free ASP.NET Controls
Geotargeting Component ASP.NET Media Player Control Flash Video Player Control Services
ASP.NET Telecommute Jobs Free IP Location Lookup Test .Net Regular Expressions CSS/Table/DIV Page Layouts Custom Programming Article Sites Master List |
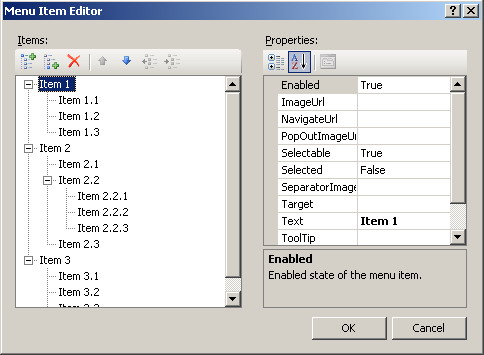
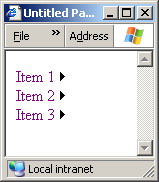
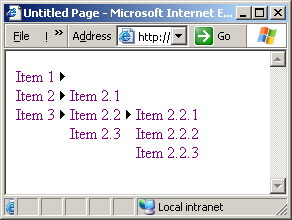
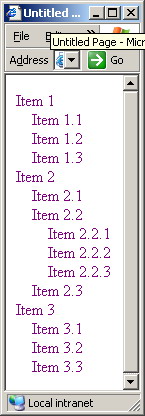
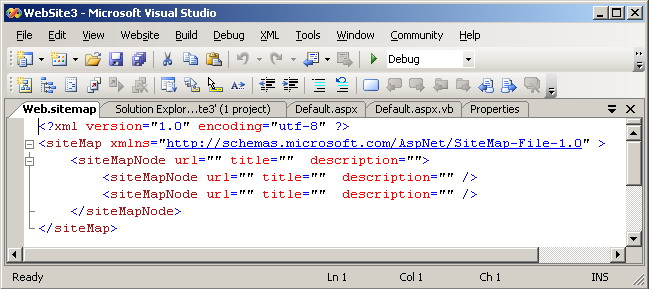
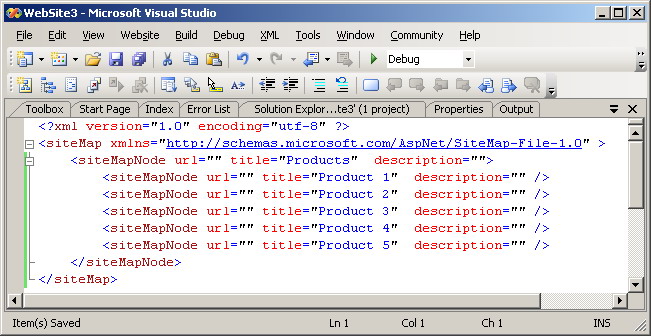
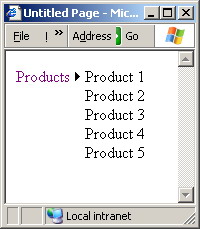
Menus in ASP.NET applicationsWhy Menus?A developer eager to provide his end users a rich and satisfying expreince will typically be confused between providing richer features and the crowded user interface that typically results from such attempt. Menus is a well known, yet user friendly approach to resolve this confusion. Unlike most of the other user interface elements, whatever number of elements you add to your menu, your user interface will maintain it's clarity and layout. This is the result of the simple fact that menus does not display all their items all the times. They instead hide them and shows them only when needed or requested by the end user. Along the last 10 years of web development, menus have been known to be a tedious and non-standardized task to implement from scratch. Thanks to ASP.NET 2.0 which provided us with an easy and standardized approach to menus in web applications.
Tutorial toolbar: Tell A Friend | Add to favorites | Feedback | |
|||||||||||||||||||||||||||||||||||||||||||||||||||||